Designing an iPhone Mount with Claude Code
TL;DR
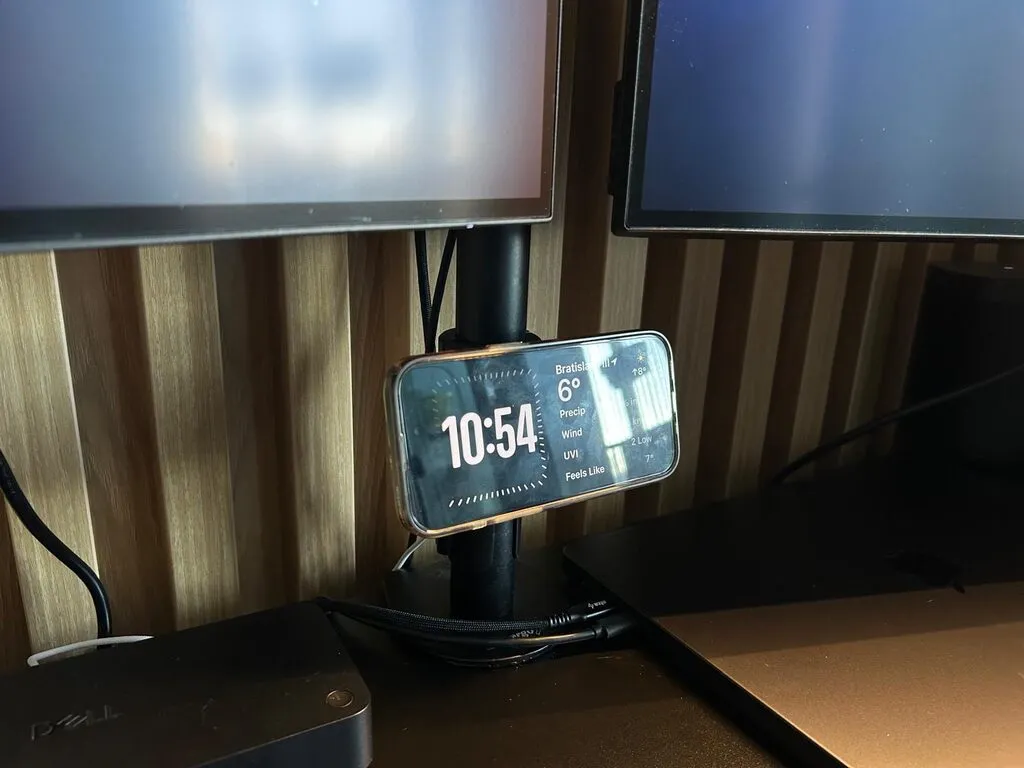
I wanted a MagSafe charger on my monitor arm, but I didn’t like the ones on MakerWorld. They were either taped to the monitor or the desk, and none of them matched my monitor arm. I wanted something minimal and functional, with a small footprint and I didn’t want to spend a lot of time on it, so I decided to one-shot the 3D model with Claude Code, and it kind of worked. After a little iteration on the design, utility and clamping mechanism, I printed my own mount in PETG with heat-set inserts.
The arm is an AlzaErgo ErgoArm D35B with a 35 mm pole. CC wrote the model as code, with a page to change the settings and export STL files. Each version below is its real STL files, put back together on the pole.
The One-Shot
My prompt was a few lines: here’s my arm, here’s a mount I found on MakerWorld, design a similar one for Apple’s charger, but sturdier, sleeker and more Apple-like. The agent found Apple’s drawings of the charger and the iPhone Pro. It looked done, so I printed it.
It didn’t work. The cable sagged out of its channel, the charger came out with the phone and the slits round the cup printed in mid-air. I guess I should have checked it first and not trusted a one-shotted 3D model before printing 😅
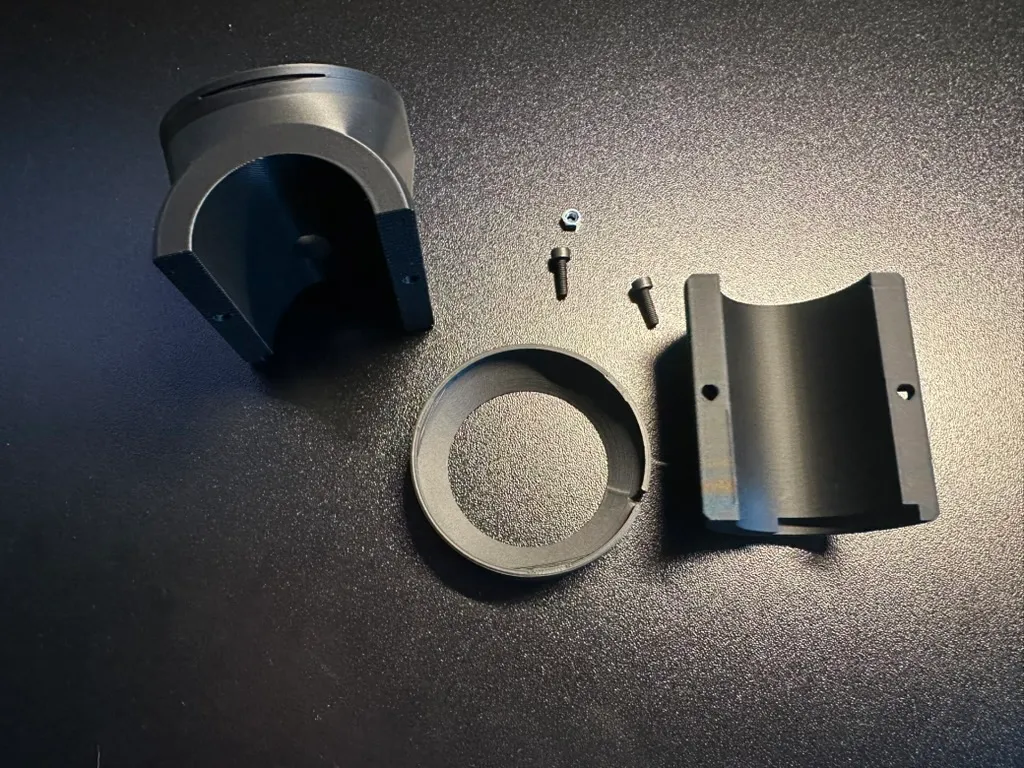
The first print. See the slit across the top of the cup?
The first version. Drag to turn it.
Fixing It
I realized that one-shotting this might not be that great. So I thought about the design a bit more and asked for better vents and cable management. Claude Code came back with a better result: the slits became diamond vents that print without sagging. But for the cable, it added a third part: a cover under the neck, held by two more screws. That part was completely unnecessary. When I looked at the model myself, I realized I could just thread the cable through the holder.
The second version. Take it apart to see the cover.
Threading the Cable
The plug goes in through the bottom of the cup before the charger does, and the cable runs inside the neck and round the pole. Two parts, two screws and no supports.
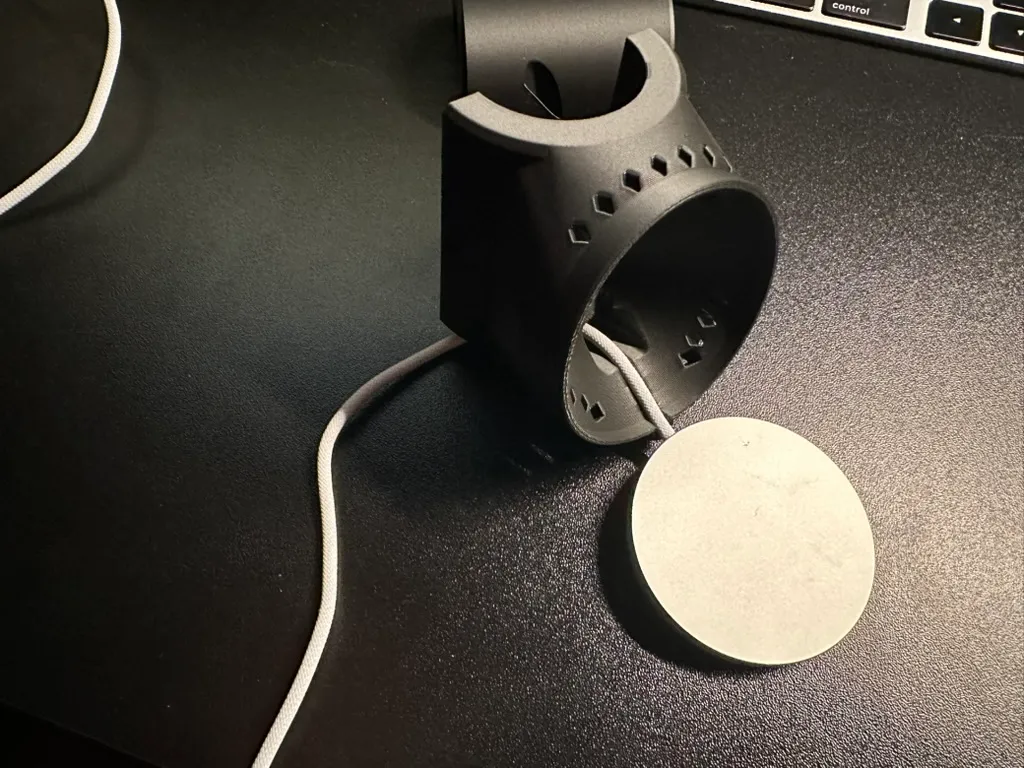
The third version. Turn on X-Ray to see the cable inside.
Cracks and Heat
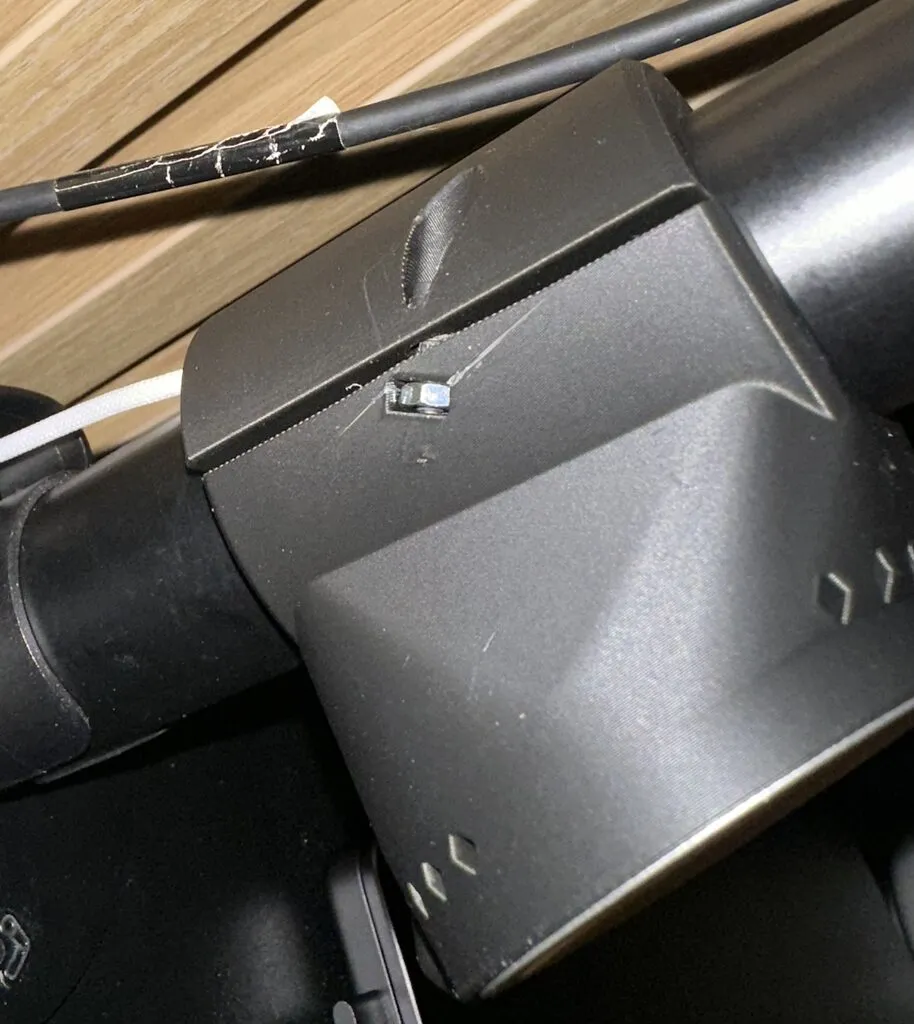
The third design was right, but I foolishly printed it in PLA, which wasn’t a great choice. Two M3 screws pulled the strap onto hex nuts sitting in slots in the holder. When I tightened them a little more, the PLA cracked round a nut.
The charger was the other problem. It gets warm while charging, around 30 to 40 °C, and that softened the PLA enough that the cup held the charger less tightly. After an hour of charging, when I picked up the phone, the charger came out of the cup with it.
Inserts and PETG
So the agent rebuilt the ring around brass heat-set inserts. Then I switched to PETG Basic, which takes the charger’s warmth much better than PLA. Inserts and PETG together fixed it.
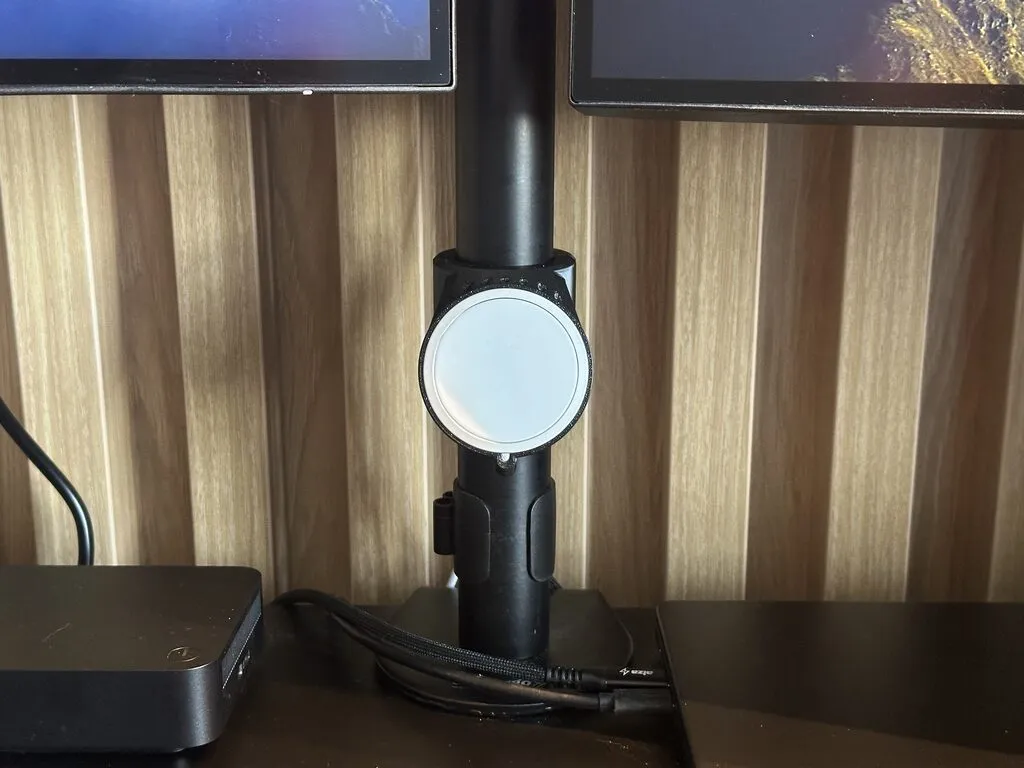
The PETG version. Same shape, better materials.
The final version. Take it apart to see the holes for the inserts.
Looking Back
Apart from where the cable goes, I designed almost none of it by hand. The vents could still be nicer, maybe with a different approach altogether, but that’s about it.
It wasn’t a one-shot per se, but it was still easy and took a fraction of the time it would have taken to design by hand. Very happy with the result!